Chess-Playing Robot — Enclosure, Raspberry Pi, Joy Sick, and Buttons!
Quality of life updates. Basic Enclosure, running locally on a Raspberry Pi, Buttons, and Joystick
Work in Progress — Organization Stage
This post focuses on giving the robot a basic enclosure, organizing the wiring, and getting it running on a Raspberry Pi.
From Last Post
- Integrate to run on Raspberry Pi
- Re-design and print permanent mountings for end stop switches (low priority)
- Maybe add a joystick and arcade buttons?!?
- Make one of the buttons a Kill Switch or at least a stop
- Add cable-chain mounts + strain relief
- Cable management for X-carriage
- Cable management for Y-axis
- Basic Electronics Enclosure
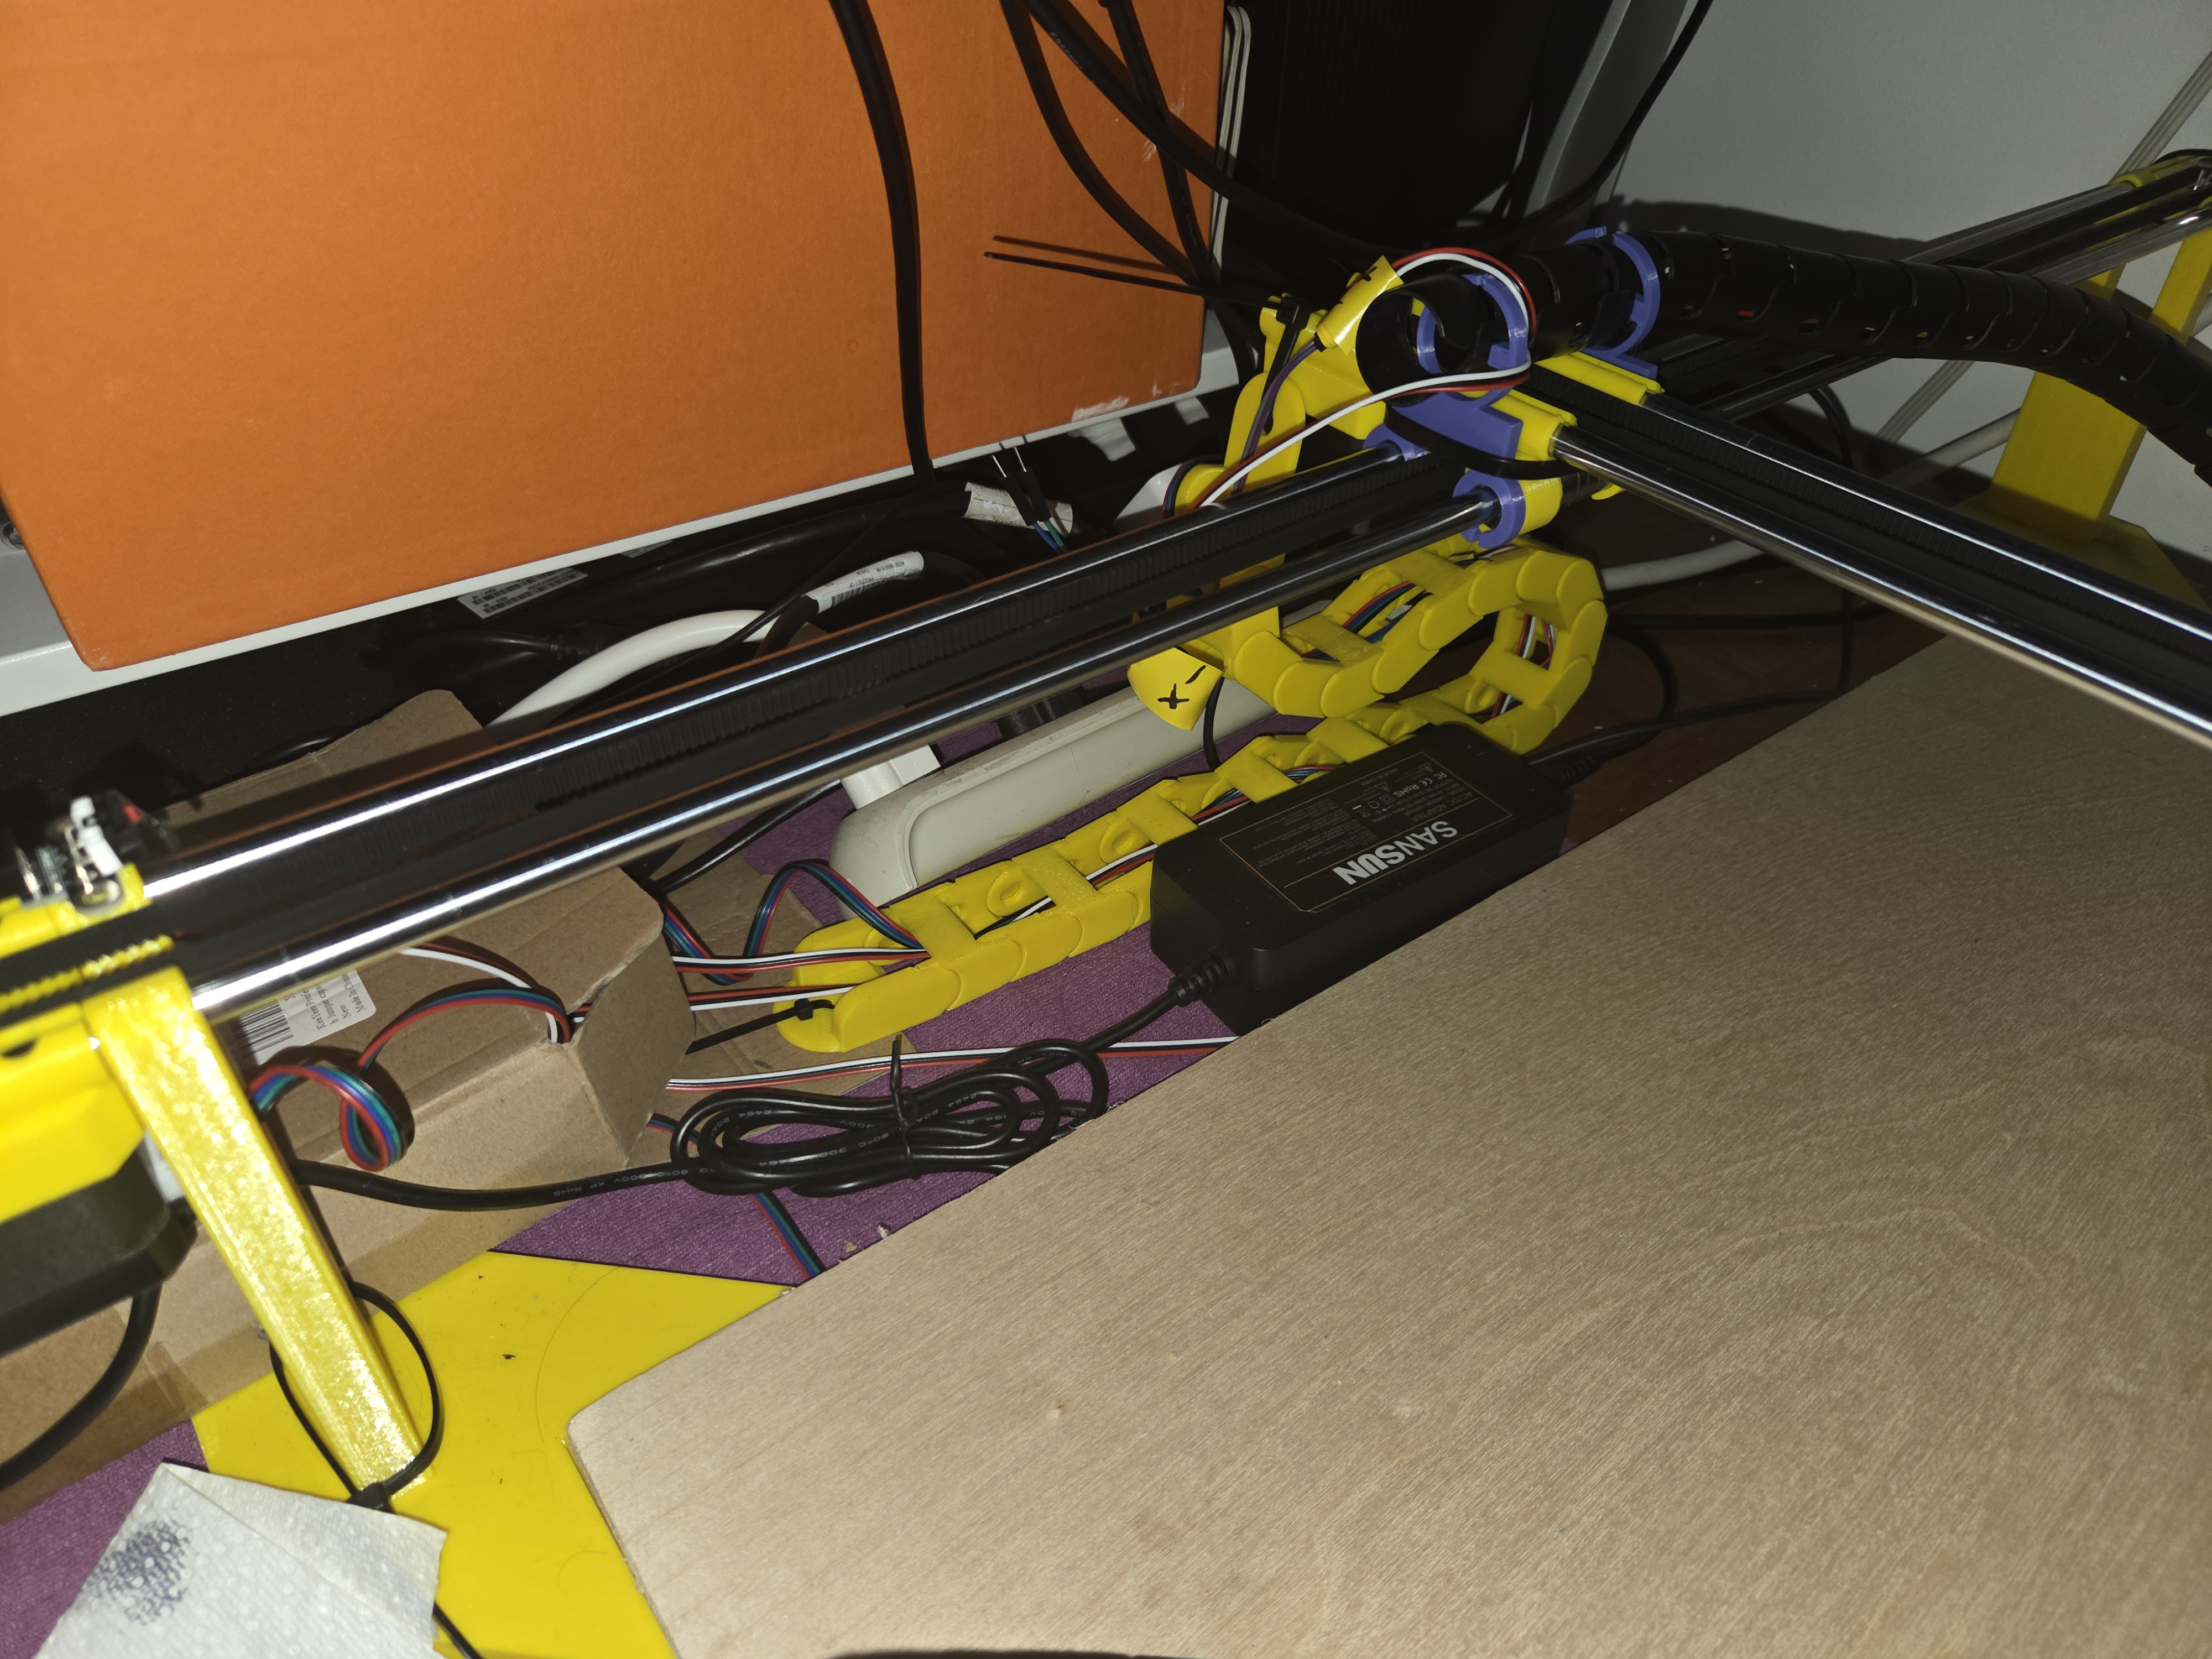
Pretty productive! To be honest I don’t much care that the end stops are still hot-glued in place. They are doing their job and it will be easier to make a permanent spot for them once the rest of the mechanical design is completed. The cable chain pictured at the right is the only thing I didn’t design myself so far… and it irks me. I’ll probably replace it. I also used some cable organizer tubing for the X-Carriage wires. That also needs work.
BUTTONS
This started out as an impulse buy at microcenter and I am so happy I did it. The buttons and the joystick came in a set with a control board… and now my robot essentially functions as a crane machine. Its a lot of fun. I can chase the kitten wherever I want now. And its useful for calibration and testing. It wasn’t just plug and play unfortunately, I had to build a profile that UGS could understand. But now that we have it its super smooth.
Layout
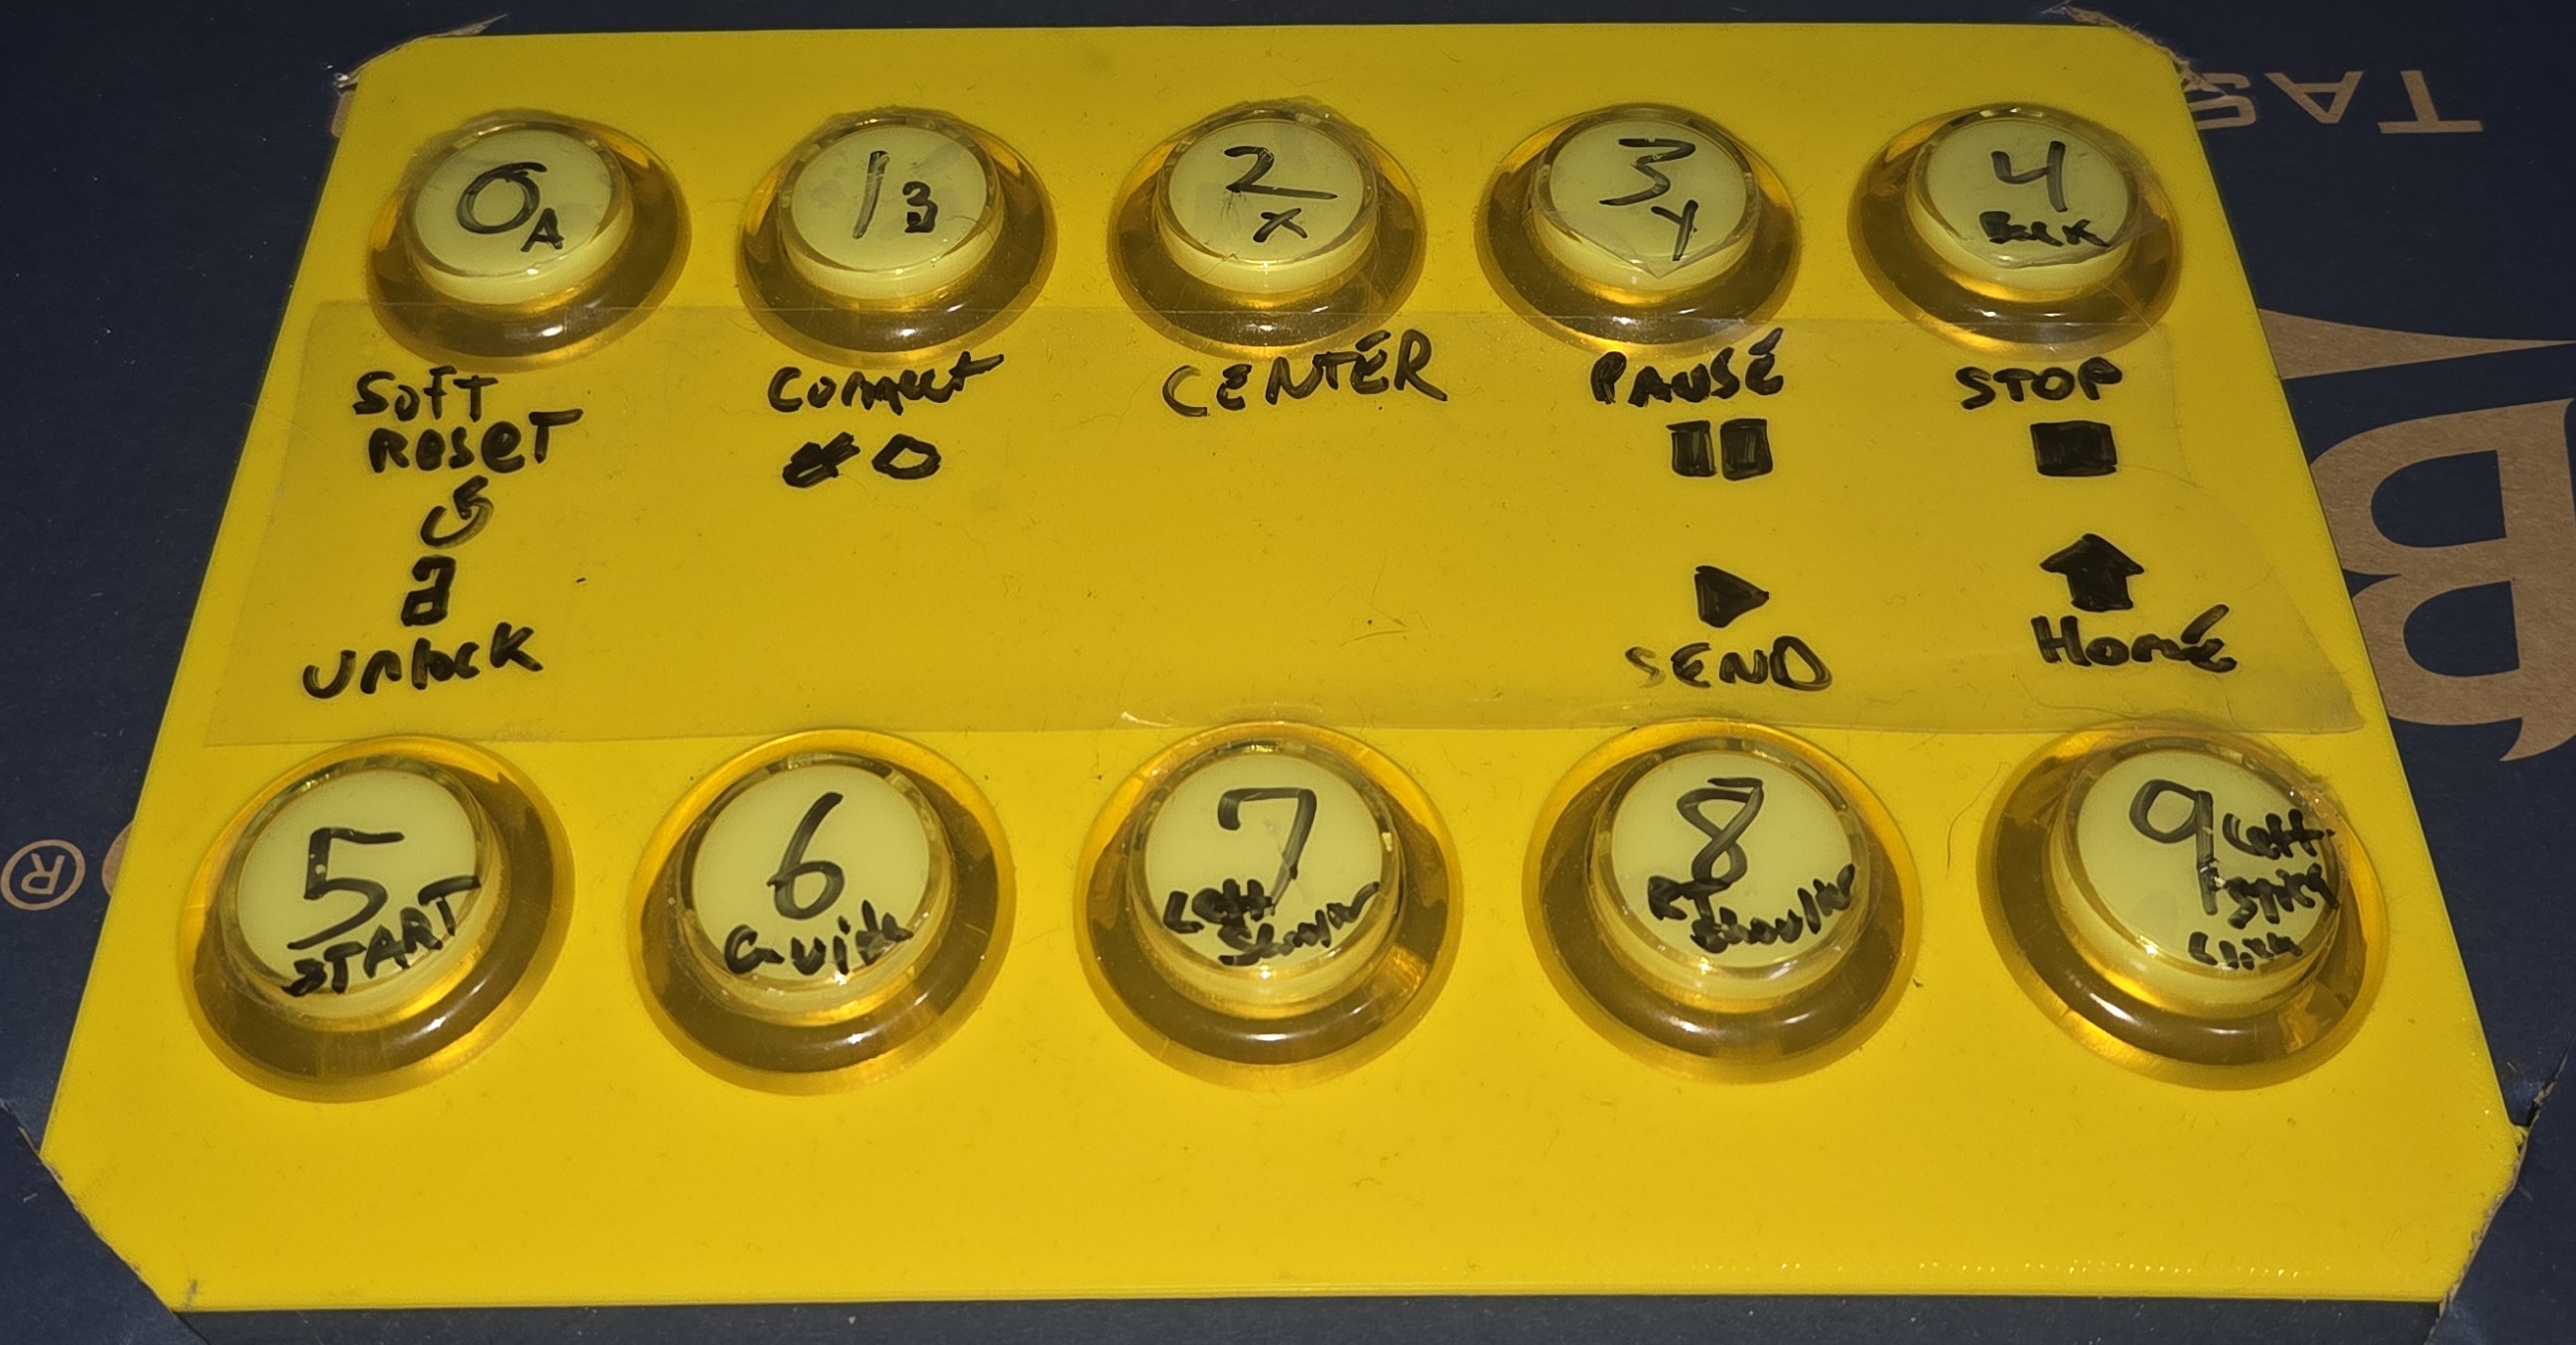 Zoom in on the control panel
The numbers on the buttons are the numbers they corrispond to on the circuit board and that was useful for building the mapping profile for UGS. THEN I gave them functions in UGS. This eventually wont be necessary once we are running the robot off pure code, but it’s a nice to have for prototyping and testing. And I have a ersatz e-stop… In case of Kitten encroachment. I’ll eventually buy a real one to cut power but this is good enough for now.
Here’s a rundown:
- Soft Reset. Necessary for normal CNC/UGS start up.
- Connect. Link the control board to UGS.
- Center. Jog the end effector to the center of the work space.
- Pause. Temporary hold on whatever command is being executed.
- STOP.
- Unlock. Necessary for normal CNC/UGS start up and after a fault.
- Reserved for “pick-up piece”.
- Reserved for “put-down piece”.
- Send. Play button for paused commands.
- Home. Resets the machine limits by using end stops at the origin.
Technically An Engineer
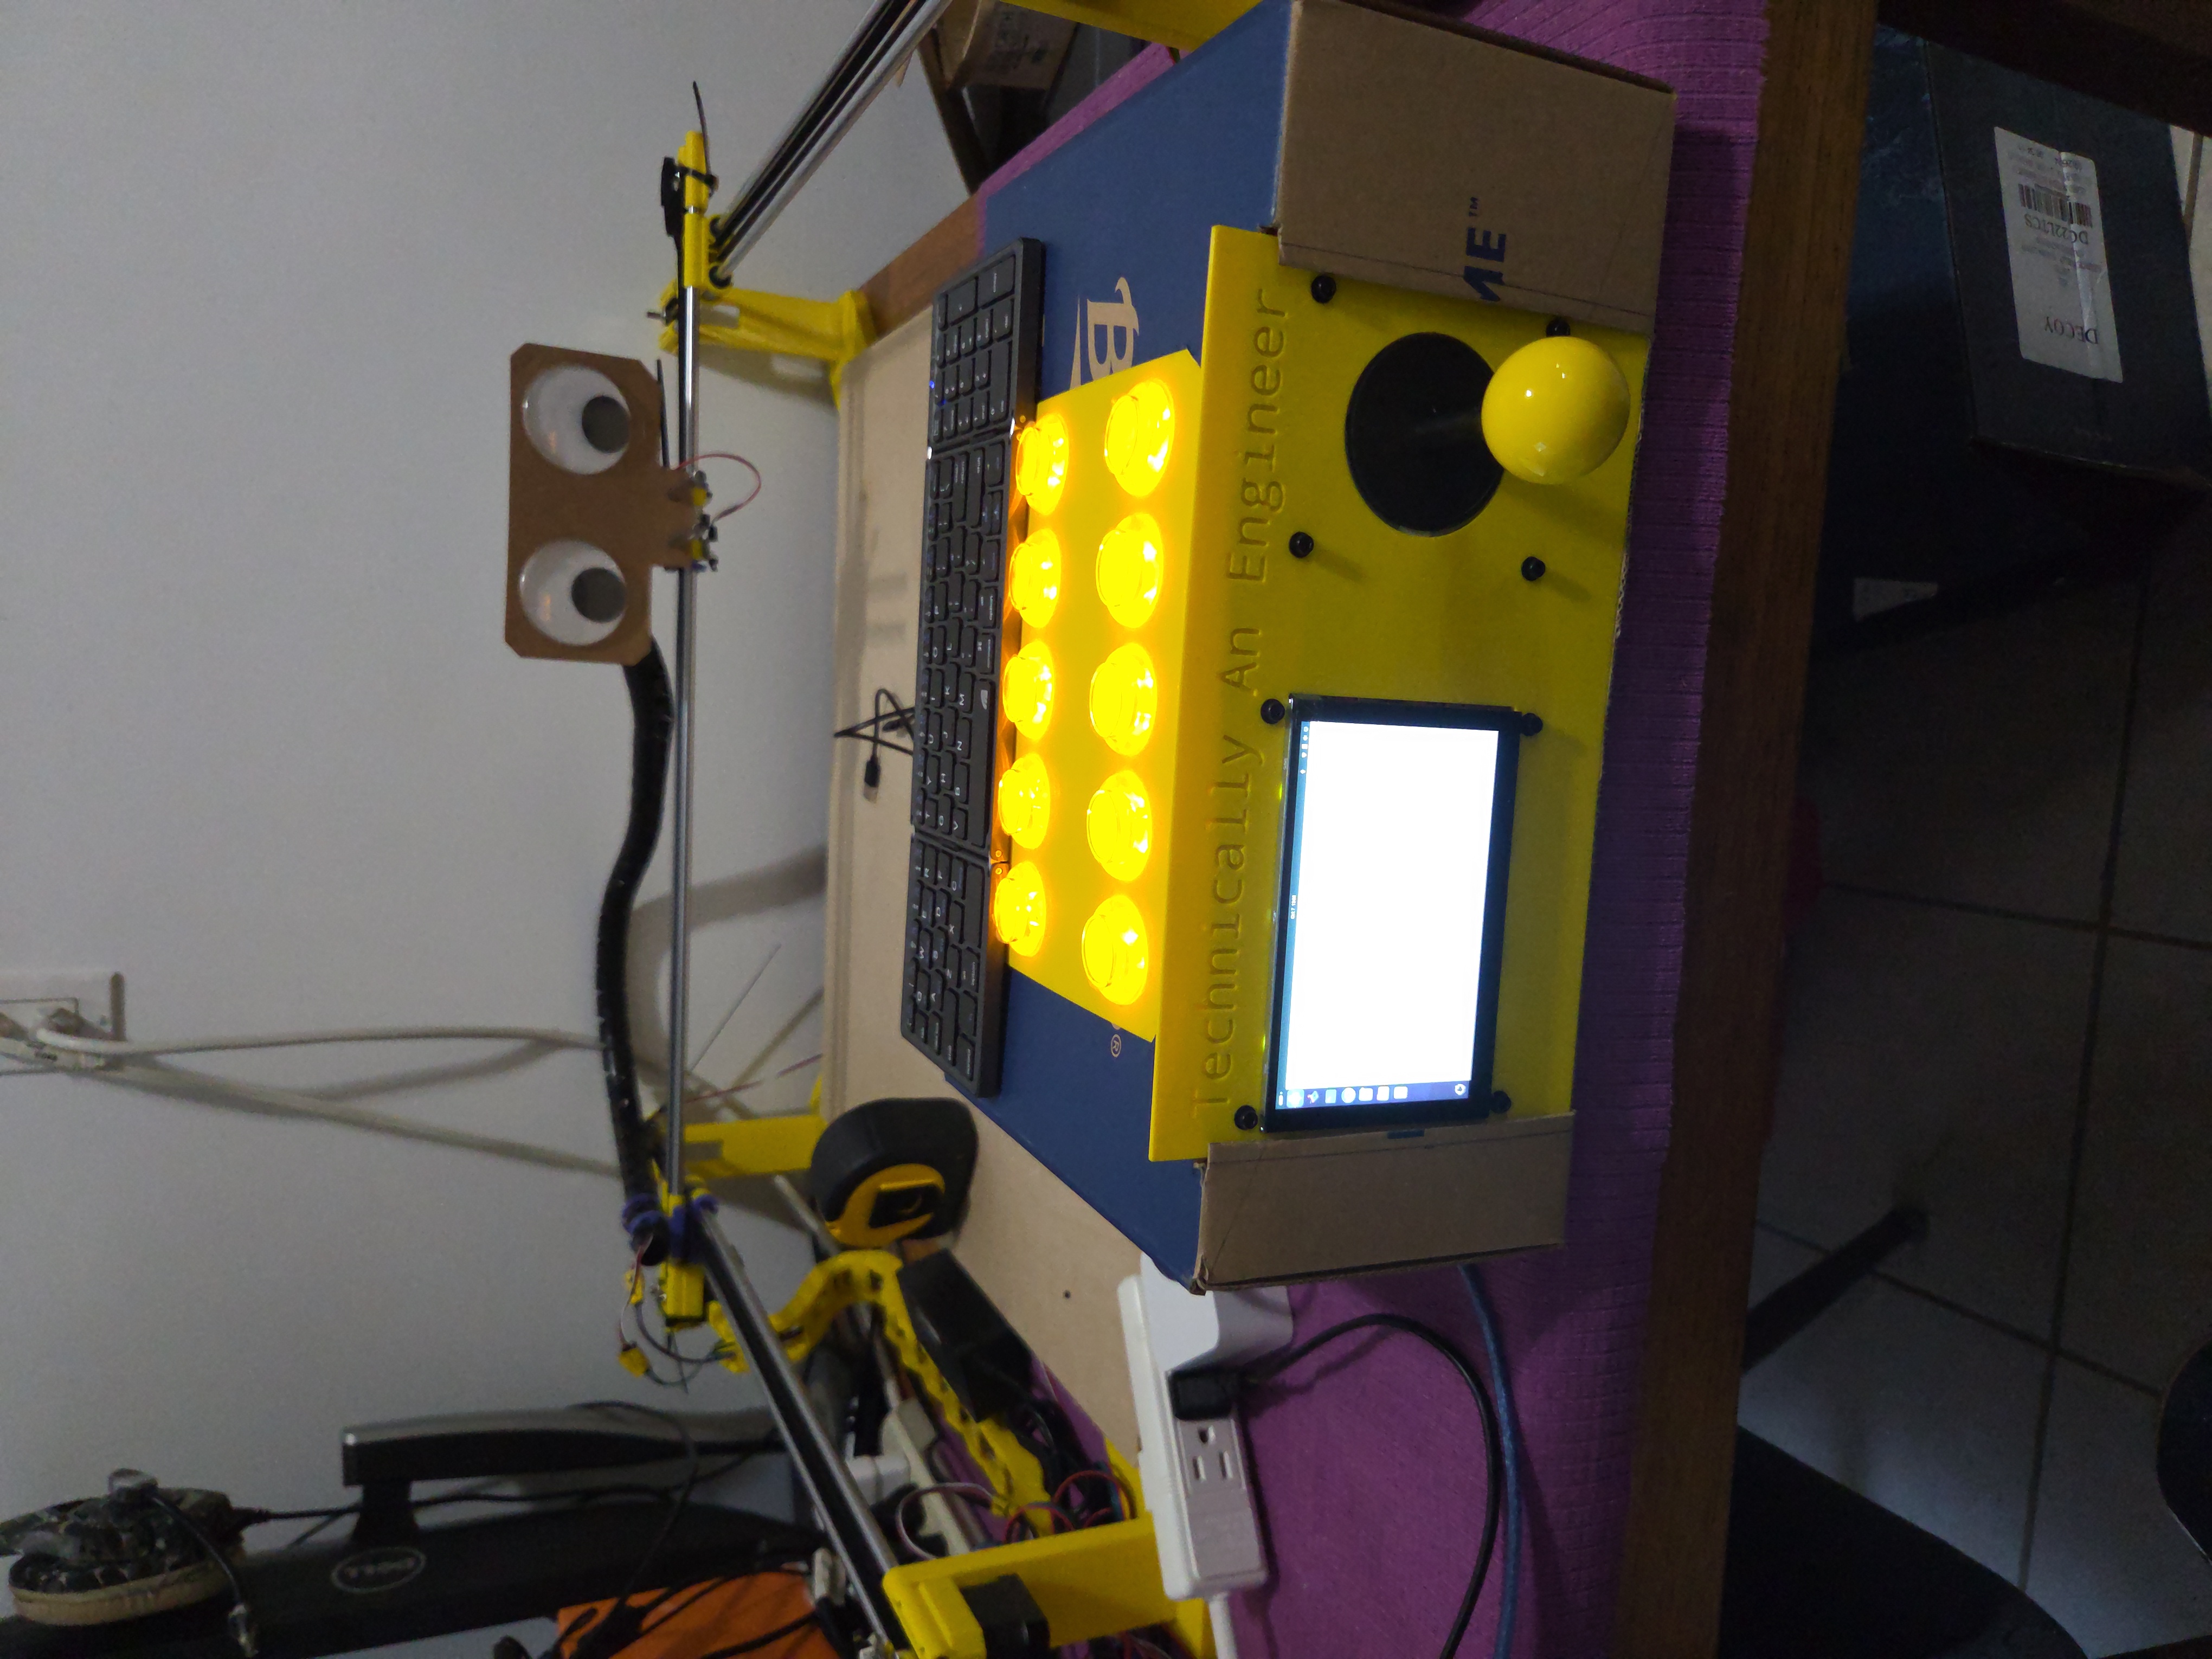
I was speaking to a friend who does video editing and he suggested I start a youtube series making this robot. Not a bad idea, but filming and editing sounds like a nightmare. He seemed interested in working on the project with me so we brain-stormed some ideas for a channel name. We came up with “Technically An Engineer” since I have my MS in Mechanical Engineering… but no job. Bleak? Maybe. But also pretty funny. It was available on youtube so we’ll see if anything comes of it. But, that’s why it is printed on the control interface.  Wide shot of the bot in all its current glory… more glory to come
Giant Running TO-DO List
This is the part where I post the list again… borrowed directly from the last post to maintain continuity — and update it…. but it keeps getting longer and longer. Ill keep it separate somewhere else. Maybe make it it’s own post. But for now we skip it.
For Next Post
- Hall-effect Sensor Test
- Mitch’s Crazy Tube idea
- Design own cable Chain
- Fix Cable Wrapper
- Good E-Stop
- Pet Kitten
- Re-design and print permanent mountings for end stop switches (low priority)
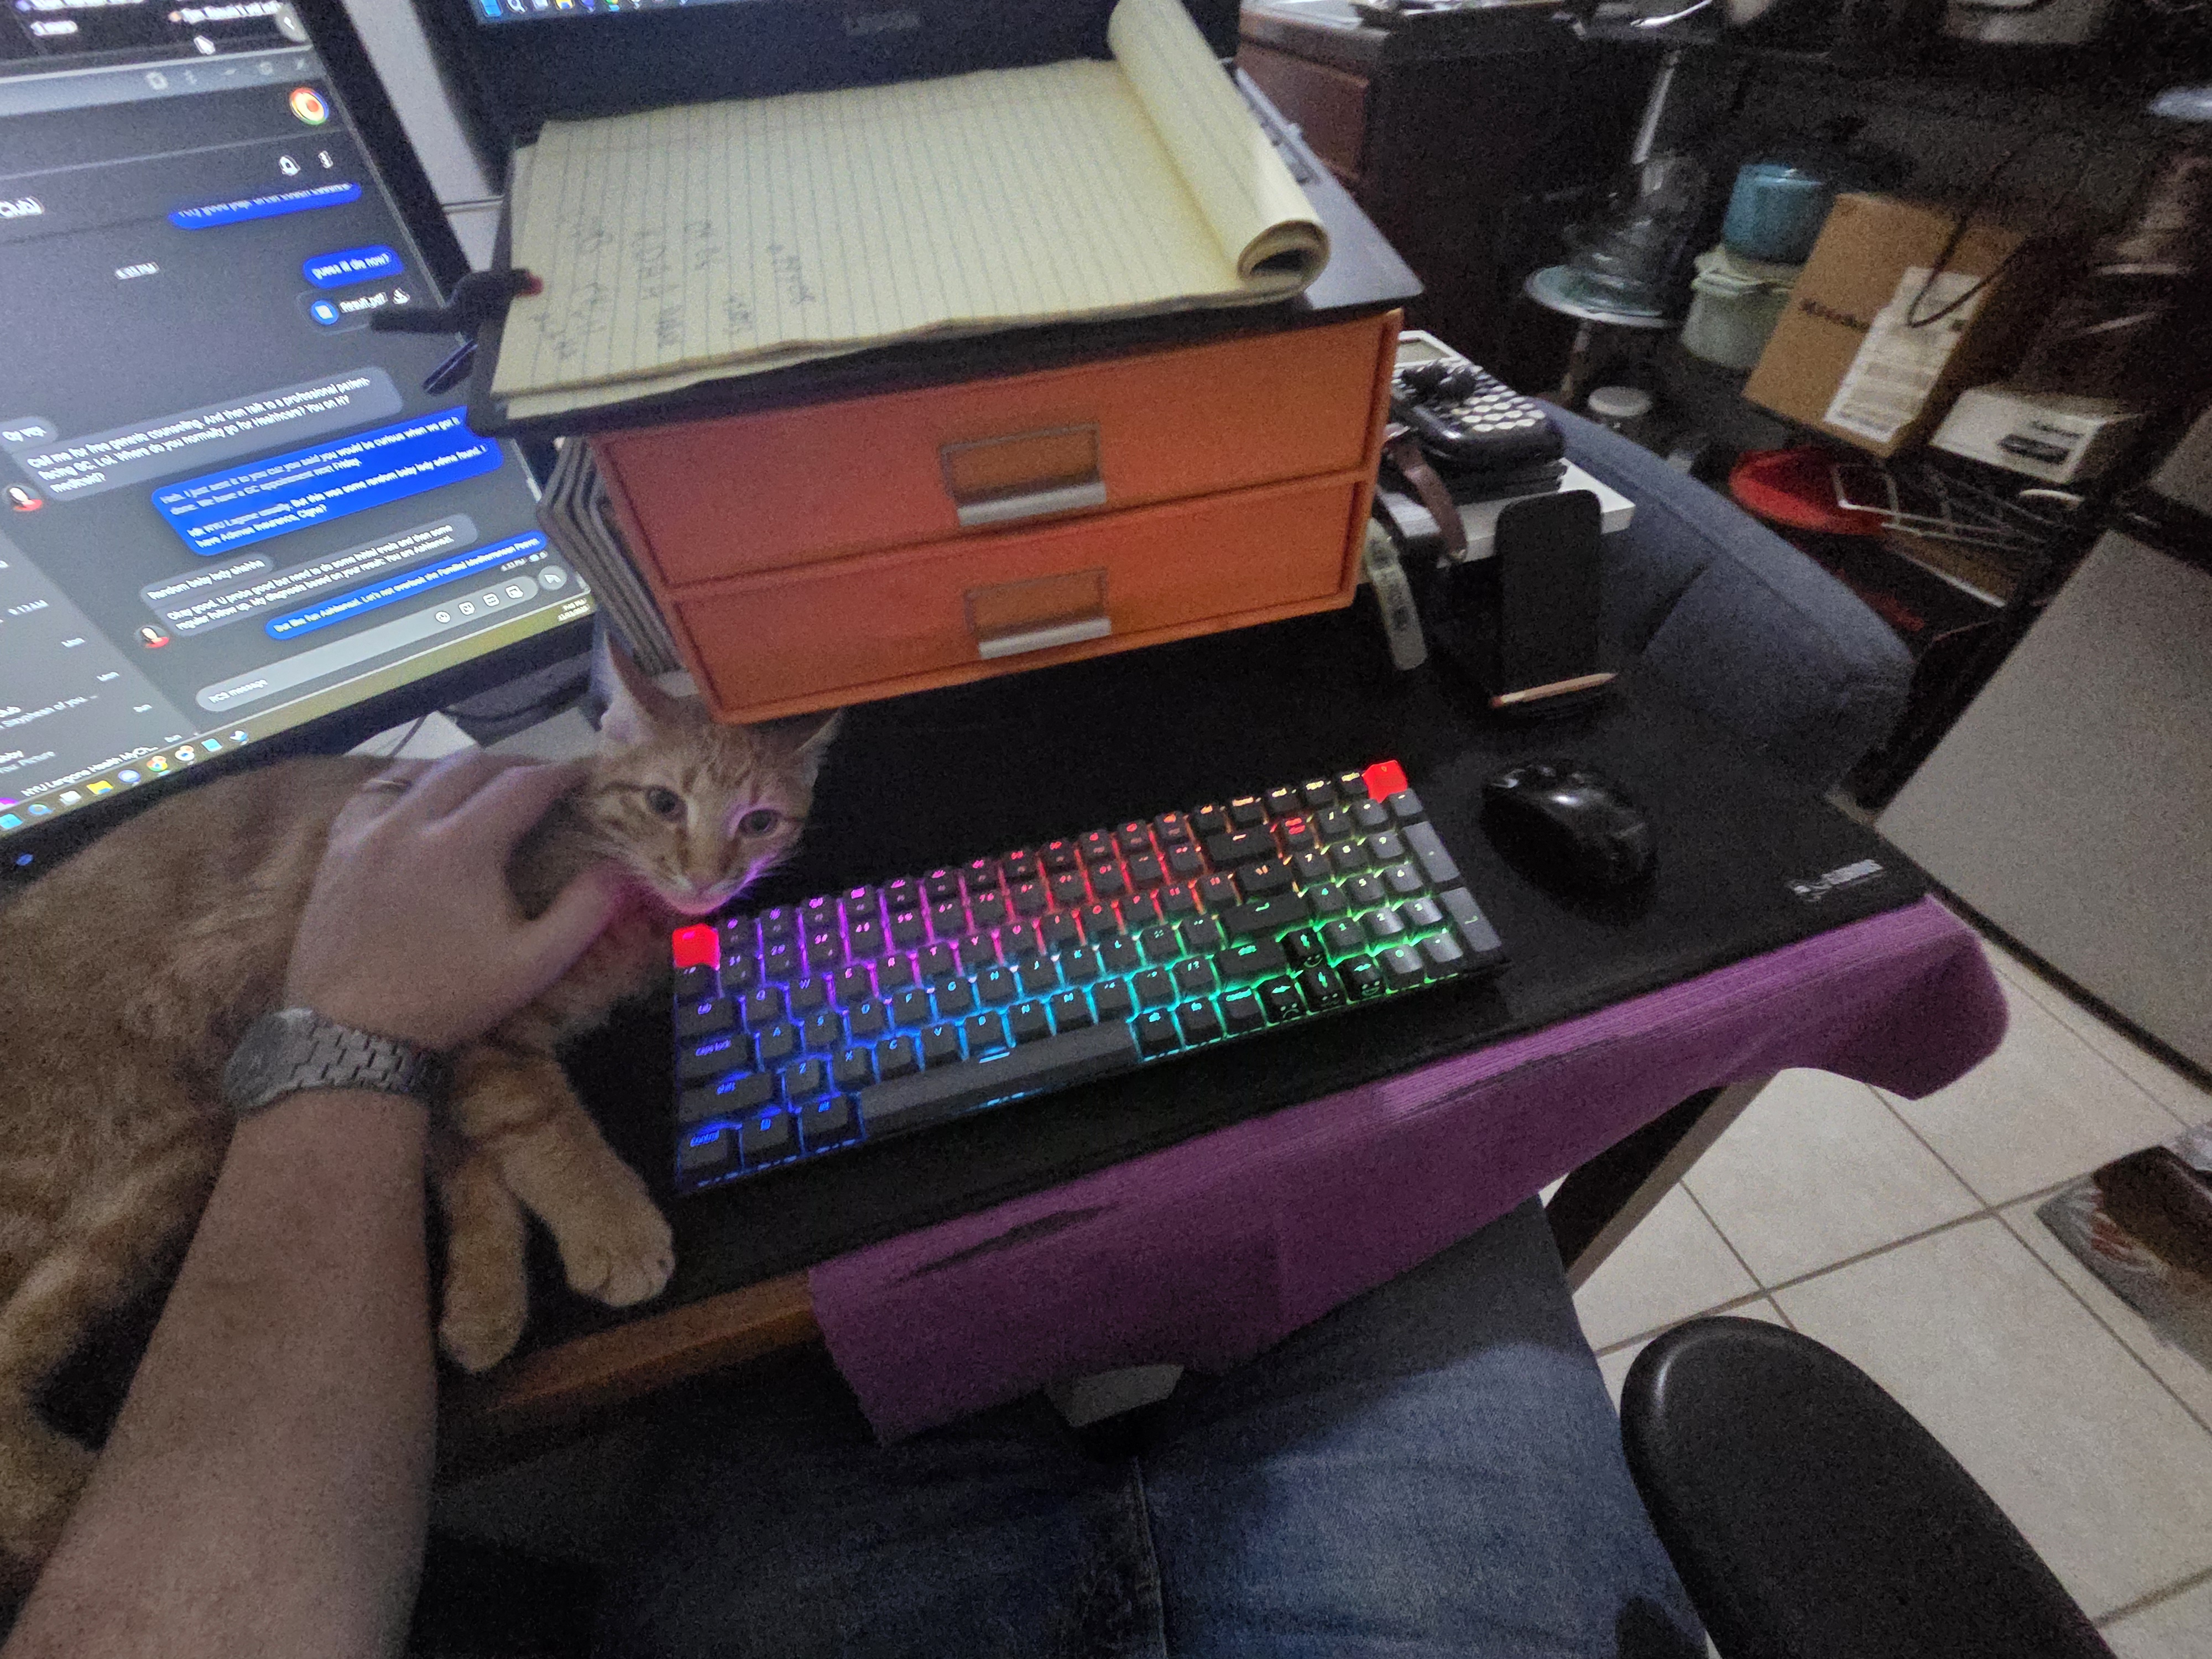 Cat left. Mouse Right.